Kolla-Ansible 多机部署 V 版 OpenStack
测试环境搭建
之前把本地镜像仓库、OpenStack、Jaeger 全都放在了一台主机上跑,负载很大,而且也不保险。现在拆分为 2 台主机:
- 部署节点(Kolla-Ansible)
- Ubuntu 20.04
- 4 CPU
- 内存 16 GB
- 硬盘 500 GB
- 网卡1
- 控制节点(OpenStack)
- Ubuntu 20.04
- 4 CPU
- 内存 16 GB
- 硬盘 500 GB
- 网卡1
- 网卡2(未启用)
在部署节点用 multinode 配置远程部署 OpenStack,虽然这里只有一台 OpenStack 主机😂
控制节点
控制节点只需给用户配置 sudo 权限
1 | # 添加用户 |
Prior to Queens, when users want to connect using non-root user, they must add extra option
ansible_become=Truewhich is inconvenient and add security risk. In Queens, almost all services have support for escalation for only necessary tasks. In Rocky, all services have this capability, so users do not need to addansible_becomeoption if connection user has passwordless sudo capability.
部署节点
环境准备
-
配置 Python3
1
2
3
4
5
6# 设为默认
sudo update-alternatives --install /usr/bin/python python /usr/bin/python3.8 1
#sudo update-alternatives --remove python /usr/bin/python3.8
# 安装 pip
sudo apt install -y python3-pip -
更换 pip 源
1
2
3
4
5# 创建文件夹
mkdir .pip && cd .pip
# 创建并编辑配置文件
sudo vim pip.conf配置如下
1
2
3
4[global]
timeout = 6000
index-url = http://mirrors.aliyun.com/pypi/simple/
trusted-host = mirrors.aliyun.com -
更换 Ubuntu 源
1
2
3
4
5
6
7
8
9
10
11
12
13
14# 备份
sudo mv /etc/apt/sources.list /etc/apt/sources.list.bk
# 设置镜像源
sudo vim /etc/apt/sources.list
# 更新源
sudo apt update
# 升级
sudo apt dist-upgrade -y
# 重启
sudo reboot镜像源配置如下:
1
2
3
4
5
6
7
8
9# 默认注释了源码镜像以提高 apt update 速度,如有需要可自行取消注释
deb http://mirrors.tuna.tsinghua.edu.cn/ubuntu/ focal main restricted universe multiverse
# deb-src http://mirrors.tuna.tsinghua.edu.cn/ubuntu/ focal main restricted universe multiverse
deb http://mirrors.tuna.tsinghua.edu.cn/ubuntu/ focal-updates main restricted universe multiverse
# deb-src http://mirrors.tuna.tsinghua.edu.cn/ubuntu/ focal-updates main restricted universe multiverse
deb http://mirrors.tuna.tsinghua.edu.cn/ubuntu/ focal-backports main restricted universe multiverse
# deb-src http://mirrors.tuna.tsinghua.edu.cn/ubuntu/ focal-backports main restricted universe multiverse
deb http://mirrors.tuna.tsinghua.edu.cn/ubuntu/ focal-security main restricted universe multiverse
# deb-src http://mirrors.tuna.tsinghua.edu.cn/ubuntu/ focal-security main restricted universe multiverse -
配置免密登录
添加域名解析 /etc/hosts
1
2
3
4
5# local
10.111.1.125 controller
# openstack
10.111.1.250 openstack01生成密钥并拷贝到目标主机
1
2ssh-keygen
ssh-copy-id -i /home/jck/.ssh/id_rsa.pub op1@openstack01 -
安装依赖
1
2
3
4
5# 更新源
sudo apt update
# 安装 Python 构建依赖
sudo apt install python3-dev libffi-dev gcc libssl-dev -y安装
venv,创建并使用虚拟环境1
2
3
4
5
6
7
8
9# 安装 venv
sudo apt install python3-venv -y
# 创建虚拟环境
mkdir code
python -m venv ~/code
# 激活虚拟环境
source ~/code/bin/activate -
安装 Kolla-Ansible,指定 Victoria 版本
1
2
3
4
5
6
7
8
9
10
11
12
13
14
15
16
17
18
19
20
21
22
23
24
25# 安装 Ansible
pip install -U pip
pip install 'ansible<3.0'
pip install kolla-ansible
pip install kolla
# 下载源码
#pip install 'ansible<2.10'
#git clone https://github.com/openstack/kolla -b stable/victoria
#git clone https://github.com/openstack/kolla-ansible -b stable/victoria
# 安装
#pip install ./kolla
#pip install ./kolla-ansible
# 创建目录
sudo mkdir -p /etc/kolla
# 权限设置
sudo chown $USER:$USER /etc/kolla
# 拷贝配置文件
#cp -r kolla-ansible/etc/kolla/* /etc/kolla
#cp kolla-ansible/ansible/inventory/* .
cp -r /home/jck/code/share/kolla-ansible/etc_examples/kolla/* /etc/kolla
cp /home/jck/code/share/kolla-ansible/ansible/inventory/* . -
配置 Ansible
1
2
3# 创建
sudo mkdir /etc/ansible
sudo vim /etc/ansible/ansible.cfg配置如下
1
2
3
4[defaults]
host_key_checking=False
pipelining=True
forks=100 -
安装 Docker 和 docker-compose
1
2
3
4
5
6
7
8
9
10
11
12
13
14
15
16
17
18
19
20
21
22
23
24
25
26
27
28
29
30
31# docker
sudo apt-get update
sudo apt-get install -y \
apt-transport-https \
ca-certificates \
curl \
gnupg \
lsb-release
curl -fsSL https://download.docker.com/linux/ubuntu/gpg | sudo gpg --dearmor -o /usr/share/keyrings/docker-archive-keyring.gpg
echo \
"deb [arch=amd64 signed-by=/usr/share/keyrings/docker-archive-keyring.gpg] https://download.docker.com/linux/ubuntu \
$(lsb_release -cs) stable" | sudo tee /etc/apt/sources.list.d/docker.list > /dev/null
sudo apt-get update
sudo apt-get install -y docker-ce docker-ce-cli containerd.io
# 用户组设置
sudo groupadd docker
sudo usermod -aG docker $USER
newgrp docker
# 开机启动
sudo systemctl enable docker.service
sudo systemctl enable containerd.service
# docker-compose
sudo curl -L "https://github.com/docker/compose/releases/download/1.29.2/docker-compose-$(uname -s)-$(uname -m)" -o /usr/local/bin/docker-compose
sudo chmod +x /usr/local/bin/docker-compose创建配置文件 /etc/docker/daemon.json,设置国内镜像源
1
2
3
4
5
6
7
8
9
10
11
12
13{
"registry-mirrors": [
"http://hub-mirror.c.163.com"
],
"insecure-registries": [
"10.111.1.125:5000" # 指向之后部署的本地镜像仓库
],
"iptables": false,
"log-opts": {
"max-file": "5",
"max-size": "50m"
}
}重启 docker 服务
1
sudo service docker restart
registry + registry-ui
直接使用 Joxit/docker-registry-ui 仓库的示例配置,在本地部署 registry 和 registry-ui
1 | # 克隆仓库 |
PS:用完之后才发现完全可以搭个 harbor 用…

构建基础镜像
编写 ubuntu 20.04 基础镜像 Dockerfile,替换 source 源和 pip 源,
1 | FROM ubuntu:20.04 |
替换 pip 源(pip.conf)
1 | [global] |
替换 sources.list,注意这里写的是 http
1 | # 默认注释了源码镜像以提高 apt update 速度,如有需要可自行取消注释 |
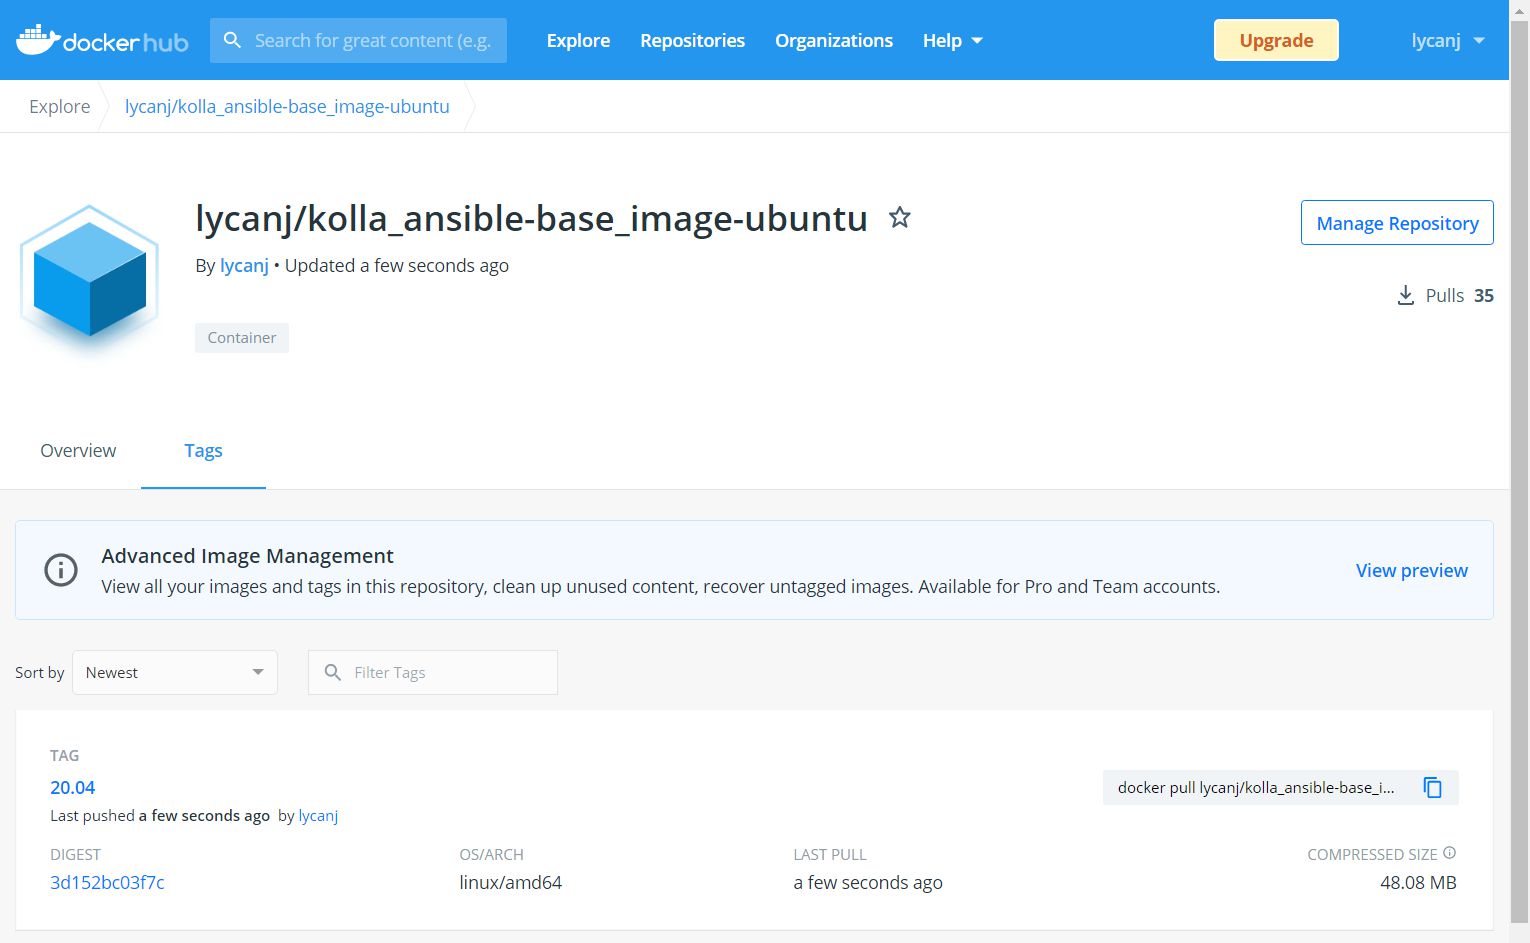
构建镜像并发布到 dockerhub
1 | # 构建镜像,--network=host 避免域名解析错误 |
构建组件镜像
下载 Victoria 组件源码
1 | git clone https://github.com/openstack/keystone.git --branch stable/victoria --single-branch |
使用 kolla-build 生成镜像,并 push 到本地仓库。下载 kolla 仓库并使用 tox 生成配置文件。
1 | # 克隆仓库 |
修改配置文件,内容如下:
- 指定基础 ubuntu 镜像
- 使用源码构建镜像
1 | [DEFAULT] |
然后指定该配置文件构建镜像
1 | kolla-build --config-file ~/kolla/etc/kolla/kolla-build.conf |

部署 OpenStack
修改 multinode 配置,编辑最前面的几项,将目标主机设置为 openstack01
1 | [control] |
测试是否可达
1 | ansible -i ~/multinode all -m ping |
参照原始的配置编写精简配置(只设置用到的选项)
1 | # 生成的示例配置文件 |
内容如下:
- 指定使用源码构建的镜像
openstack_tag=victoria
1 | # Valid options are ['centos', 'debian', 'rhel', 'ubuntu'] |
生成随机密码,并拷贝到当前目录
1 | # 生成密码 |
部署 OpenStack
1 | # bootstrap |
验证
在部署节点上执行以下指令,生成身份认证文件
1 | # 安装 OpenStack CLI 客户端 |
使用 Kolla-Ansible 自带的脚本测试
1 | # 执行脚本生成示例网络、镜像、实例等 |

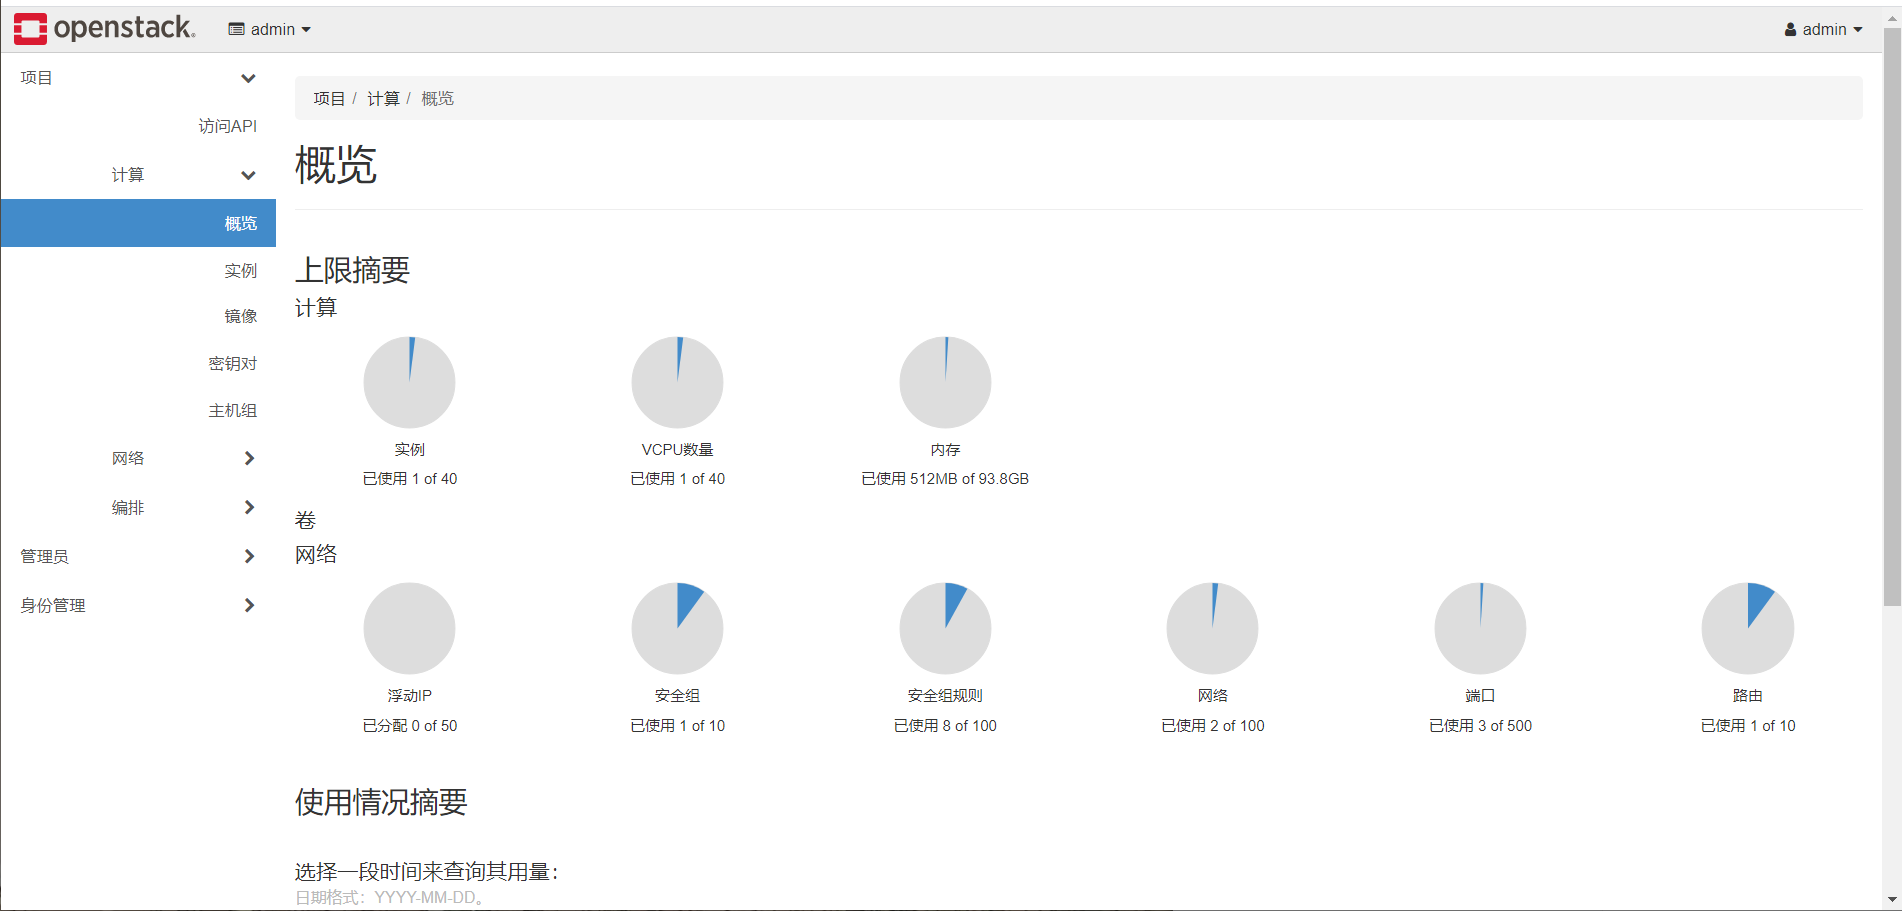
直接访问 http://10.111.1.250 可以看到刚才创建的实例所占用的资源
- 用户名密码查看 admin-openrc.sh 文件即可
参阅