jupyter notebook + virtualenv: ModuleNotFoundError
virtualenv 虚拟环境
Windows 上安装 Python 3.8.5 以及 virtualenv 20.0.31 ;
使用 virtualenv test 初始化 test 文件夹作为虚拟环境,然后使用文件夹下的 Scripts\activate 激活虚拟环境。
查看 Python 的路径,虚拟环境是把可执行文件直接拷贝了一份(
- 以下操作在 cmder 中执行
1 | # 本机环境 |
Jupyter Notebook
目标是在本机上使用 Jupyter Notebook,而其内核使用虚拟环境(virtualenv 创建的虚拟环境 test)
1 | # 本机环境 |
把虚拟环境添加到 Notebook 的环境只需要几步:
1 | # 虚拟环境 |
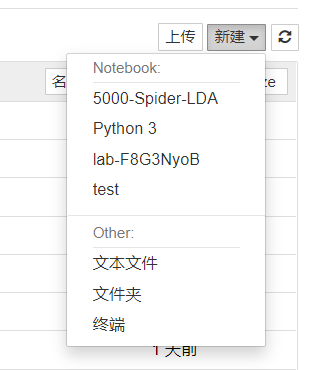
重新打开 Notebook 显示刚安装的虚拟环境内核
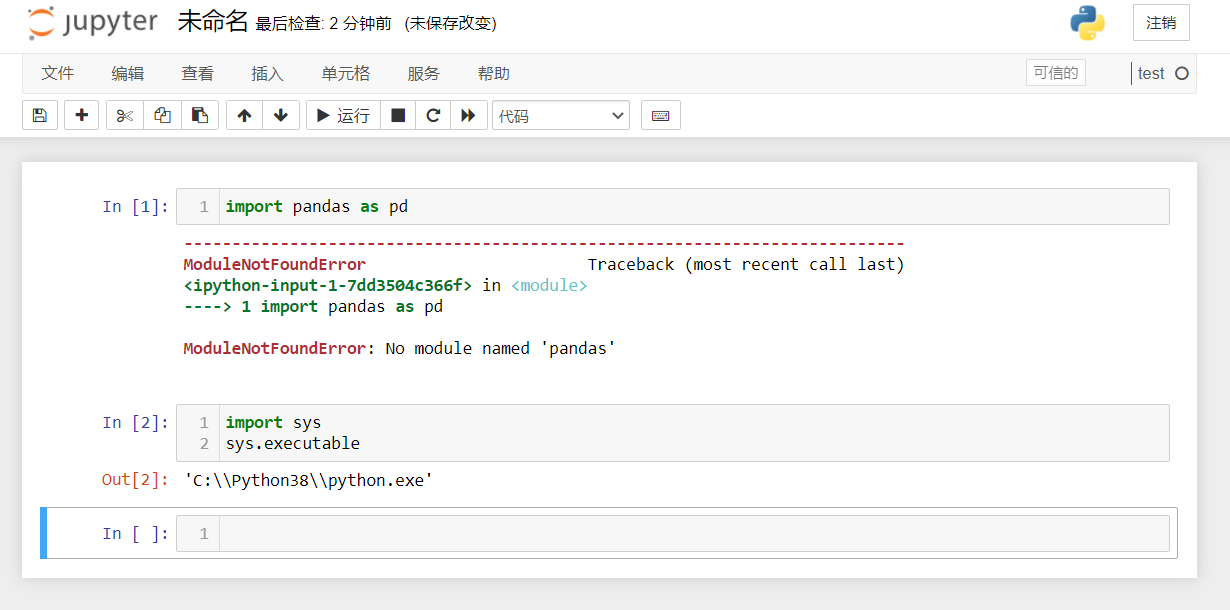
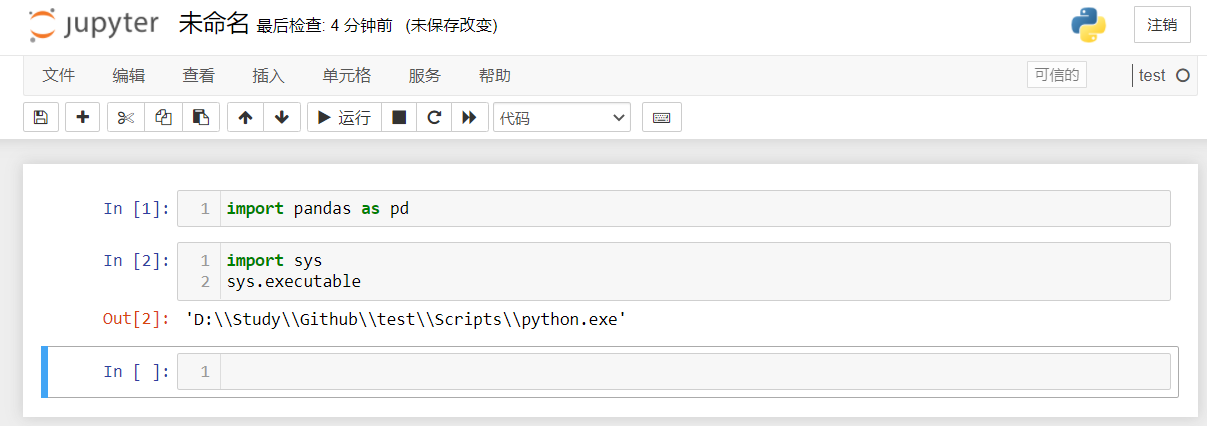
问题
找不到刚在虚拟环境里安装给的包,使用的不是虚拟环境中的 Python 。
解决方法
打开安装内核的路径 C:\Users\linki\AppData\Roaming\jupyter\kernels\test ,查看配置文件 kernel.json 。好家伙,使用的是本地环境里的 Python !把它改为虚拟环境目录下的 Python,再重新打开 Notebook 就能解决了x
1 | { |
可以 🙃
其他
Jupyter Notebook 内核相关操作
1 | # 列出所有内核 |
本博客所有文章除特别声明外,均采用 CC BY-NC-SA 4.0 许可协议。转载请注明来源 Jckling's Blog!
相关推荐
2021-01-04
Jupyter Notebook 部署在服务器并使用外网访问
在远程服务器上搭建 Jupyter Notebook ,安装在 virtualenv 创建的虚拟环境中。

2020-12-14
Python3 pandas 读取 csv 并根据日期过滤数据
读取的日期是 object 类型,需要转换为 datetime 类型才能进行比较和过滤

2021-05-10
使用 Docker 部署 Jaeger + Elasticsearch + Kibana
使用 Elasticsearch 作为持久化存储,部署 all-in-one 镜像/单独部署 Jaeger 组件;elasticdump 导出数据,Kibana 可视化追踪信息。
2021-11-05
CVE-2020-12691 漏洞利用相关信息追踪
使用 Jaeger 对 Keystone 进行追踪
2021-04-02
全链路追踪与 Jaeger 入门
全链路追踪及 OpenTracing 概念介绍,Jaeger Python 入门实验
2020-12-25
CentOS 7 安装 Openstack Rocky 版本 - 环境搭建
根据官方手册使用 CentOS 7 集群搭建 Openstack 基础环境。
2020-12-26
CentOS 7 安装 Openstack Rocky 版本 - 身份认证服务(Keystone)
在 Openstack 基础环境之上搭建身份认证服务。
2020-12-26
CentOS 7 安装 Openstack Rocky 版本 - 镜像服务(Glance)
在 Openstack 基础环境之上搭建镜像服务。
2020-12-26
CentOS 7 安装 Openstack Rocky 版本 - 计算服务(Nova + Placement)
在 Openstack 基础环境之上搭建计算服务。
评论